
I know as a mama of 2 children (young adults) myself, that no matter what the age of your children, it can be stressful to plan your yearly family photo. I recommend taking professional photos with a photographer annually, but if that is not an option this year, then here are some tips.
TIP #1
Think about your background first. If you want to focus on the family and have a nice but plain background, choose some tall plants or trees at a local park or maybe a nearby greenbelt. Or the side of a building that has brick, stone or wood makes a nice textured but simple background.

Once you have decided on the background, think about the color palette that compliment the colors in the background.
TIP #2
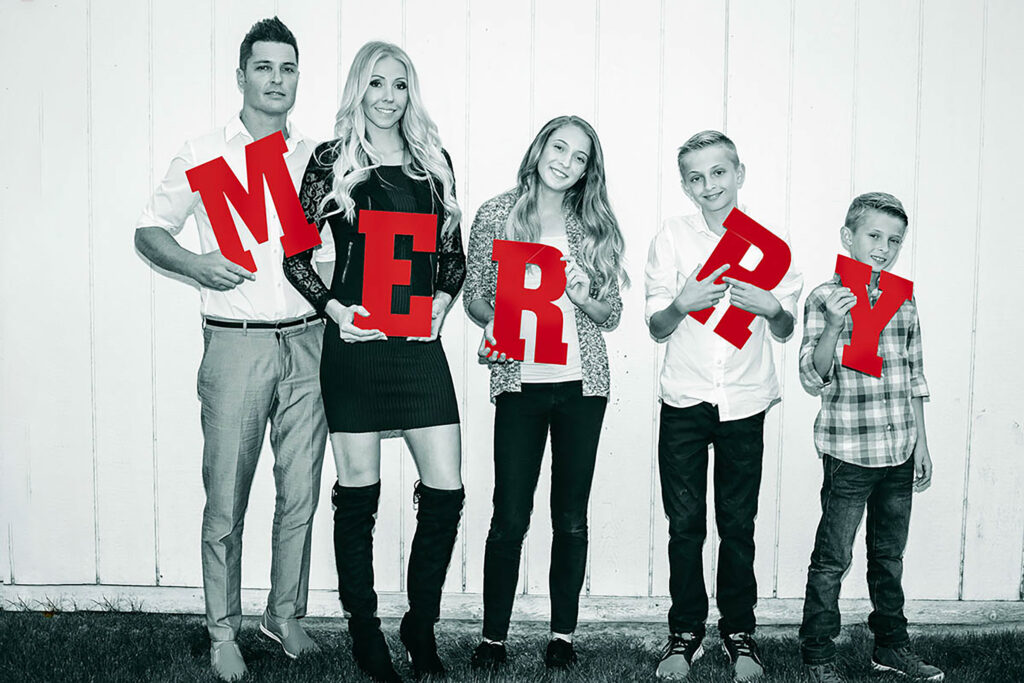
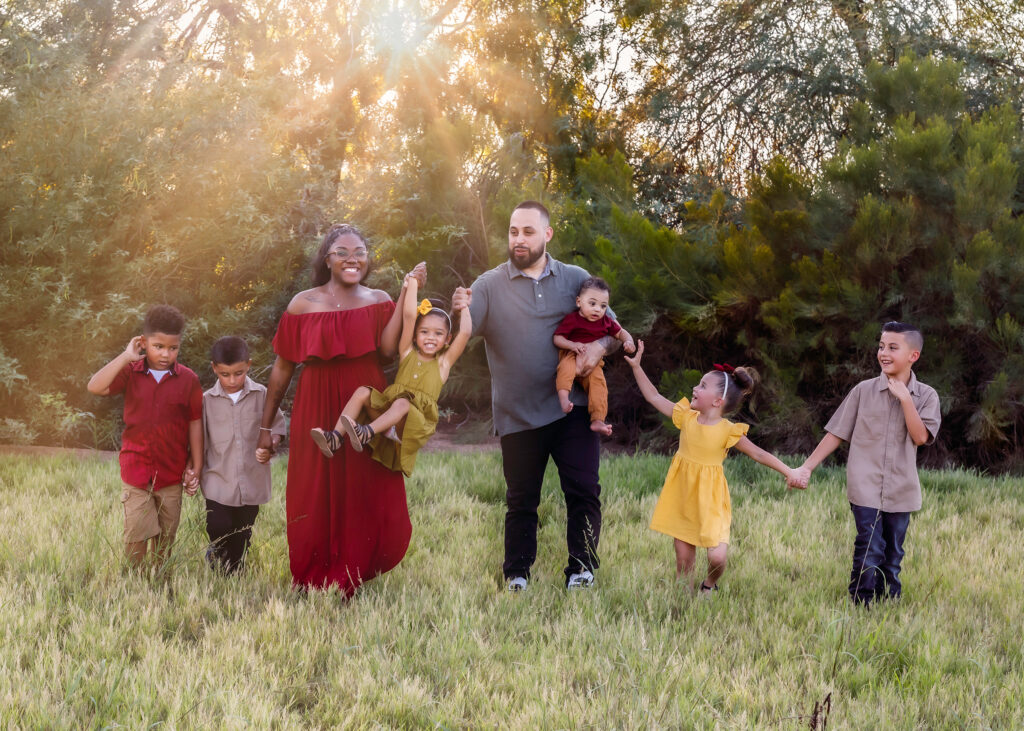
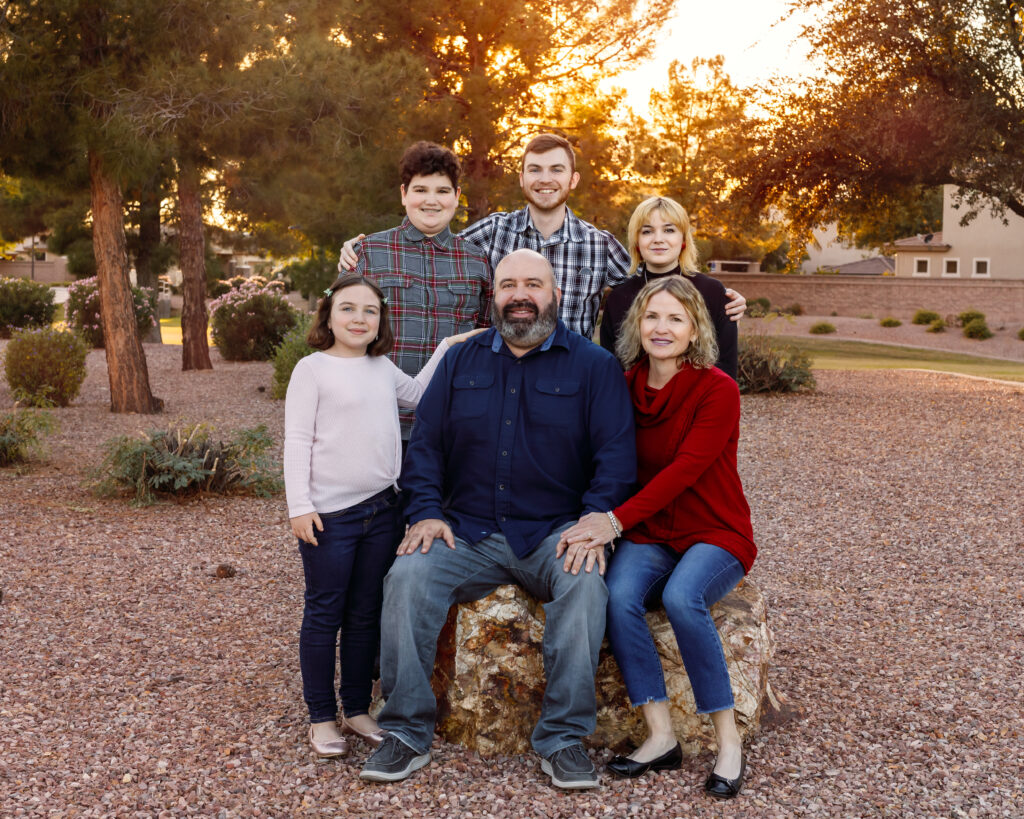
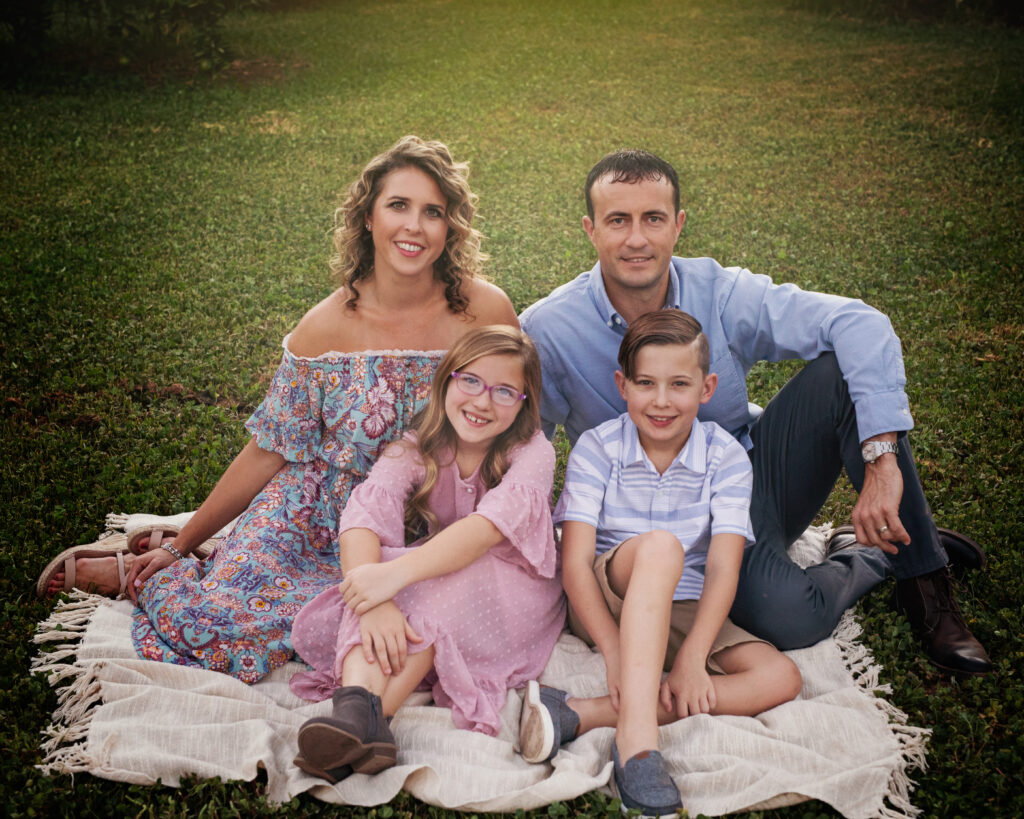
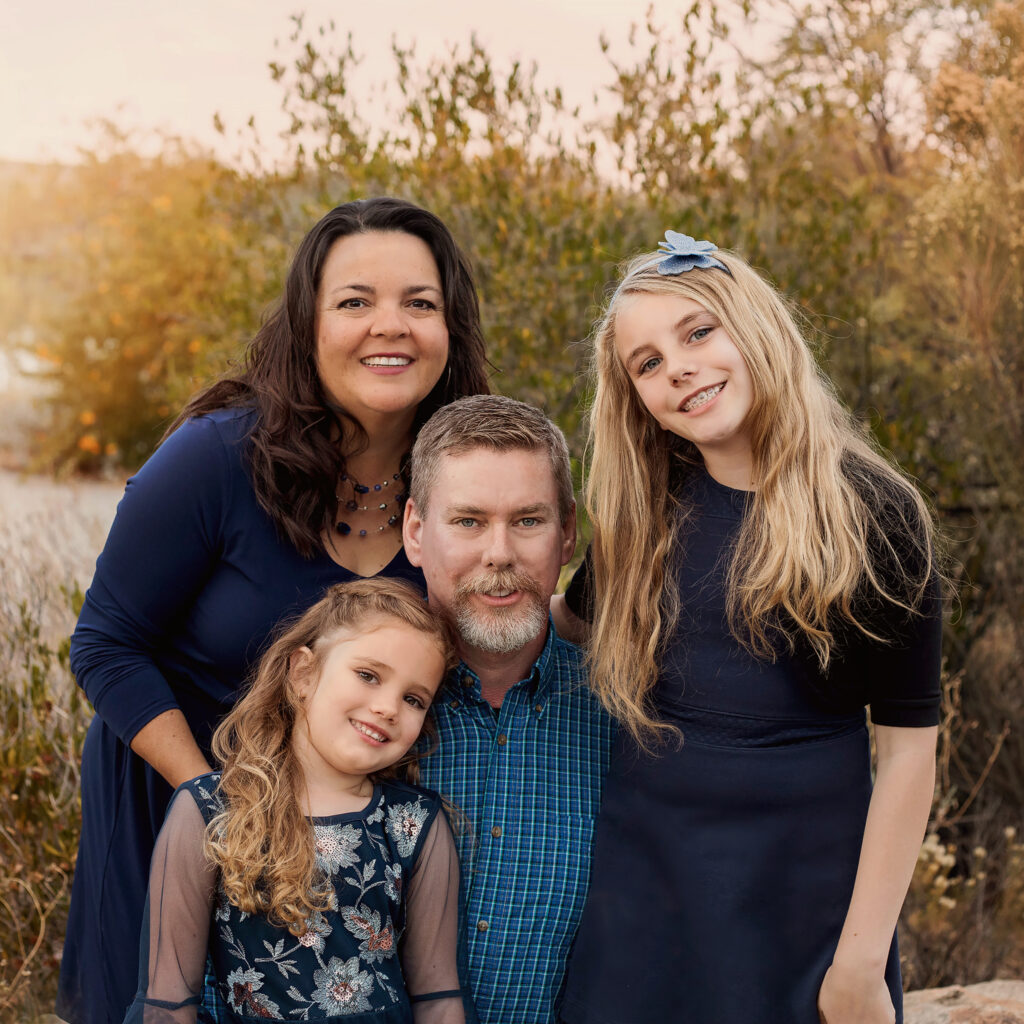
COORDINATE colors instead of matching. Choose a color palette that works with your family and background, then find different tones. Below are some color palettes that work well together. Mom should choose her outfit first, then the rest of the family based around her outfit.

If your family is anything like mine, your husband/partner complains about what you want him to wear! It’s time to bribe…..if he/she likes to have a libation for relaxing, then so be it! There is nothing wrong about partaking in a little bit of relaxation before you take your picture so let him/her know if they wear that outfit, then they can have a little nip or two – not too much though.
Involve your children in choosing an outfit too. Show them the color palette and see what items they have first and what they want to wear. If nothing works then it’s time to hit the store – it’s always fun to get something new. Try to stick with subtle patterns and solids, no wording or this will be very distracting in your pictures.
Now, get out there and find your background and color palette.
TIP#3
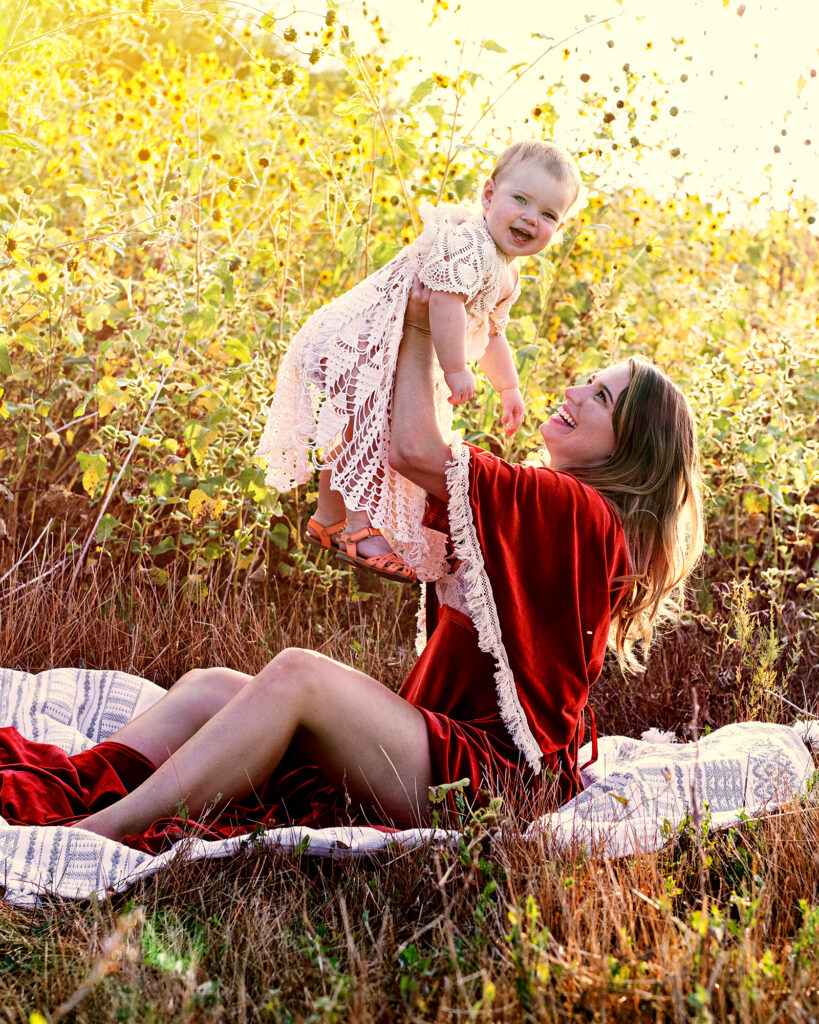
You have your background and color palette (well almost….that takes a little time). Lighting is very important and you will need to plan ahead. When you found your background, where was the sun? Plan for about 30 – 45 minutes before sunset. Ideally, the sun should be behind you and your family, or diffused by some trees or blocked by a building so there is nice even light. Make sure there is open sky around you. If you are up against a barn or a textured wall, it should be open in front of that area. If you are using trees, the sun should be fairly low and shining through the trees, but the light should not be spotty – look at the ground and if you see spots of light then that is not a good location. Visit that location about 45 minutes before sunset. By the time you set up your family and take the shot, it will be about 30 minutes before sunset which should be a perfect time to get prime lighting (depending on the location). Here’s an extra photographer’s tip – if the sun is behind you, and not blocked or diffused, then you may need a reflector in front of your family to bounced light into the faces. You can use a large car windshield reflector or buy one: https://www.amazon.com/Neewer-Collapsible-Photography-Reflector-60x90centimeters/dp/B005M09B4E/ref=sr_1_25?dchild=1&keywords=reflectors&qid=1601038573&sr=8-25
Now, it’s time to visit your location again and look at the lighting, then find out an evening that your whole family is available and have everyone block it out on their calendars.
TIP #4
Now it is time to take the picture! How are you going to the picture you ask? You are also in the picture, so that can be difficult.
- Buddy up with another family so you can take turns taking each other’s picture.
- Another option is the timer, of course, on our cell phones. If you are using a real camera, there is probably a self-timer option on it.
Review how to use these in plenty of time before you go and take the picture with your family. There are also remotes you can buy which are easy to program with your camera so you don’t have to run back into position before the camera takes the picture!
When I take a picture with my cell phone, this is the tripod which comes with a remote, that I use:
TIP #5
Before you take the picture, how you do pose your family?
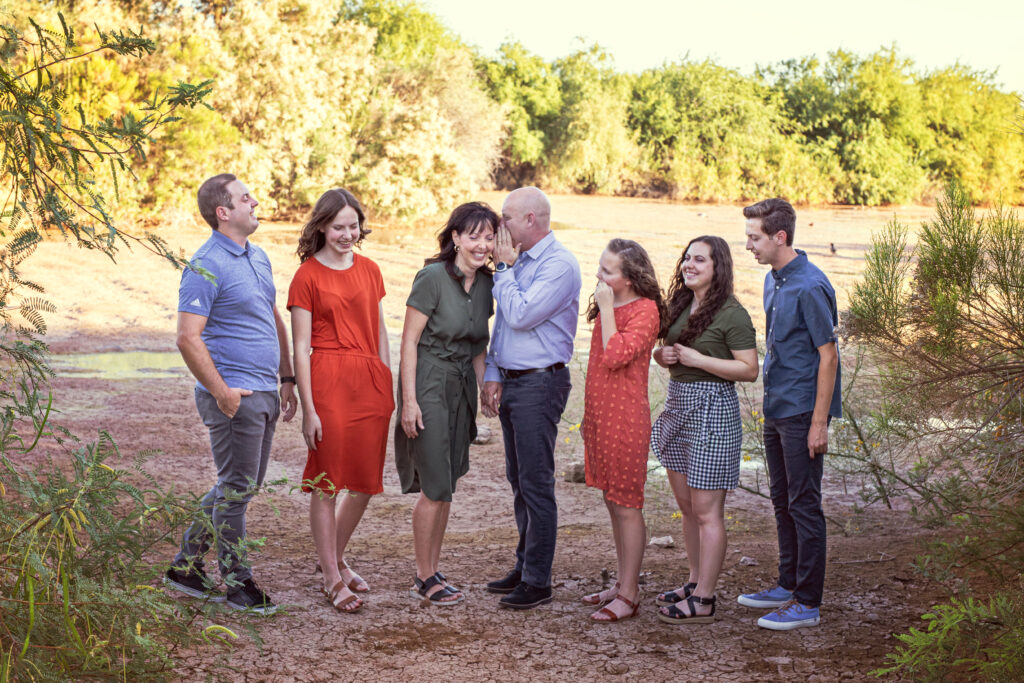
- One rule of thumb is to use a triangle position – taller people in the middle, then middle height and smaller heights on outside. If you have small children, they can be held so they don’t get lost in this pose (standing pose).
- The more you have your family in a straight line, the more everyone will be in focus. If you have children in front of you, have them close as possible for success on focus.
- Prompt your family members to have their arms around each other or holding hands. Then have everyone do something with their hands/arms (hand in pocket, hold a family member, hand on hip, etc.)
Want to see examples of family poses? Go to my family gallery: https://karahendricksphotography.shootproof.com/gallery/13179306
Extra Tips:

Another tip is to leave plenty of room around your subjects/family because when you crop your image to a 4×6”, 5×7” or 8×10” print or box on those digital Christmas/holiday cards, the crop will reduce the space around the subjects. See below (before crop and after crop).
Want to see more location ideas? Follow me and check out my Pinterest Page for locations:
Do you have further questions or want to see another TIP covered in the blog? Contact me here:

Be the first to comment